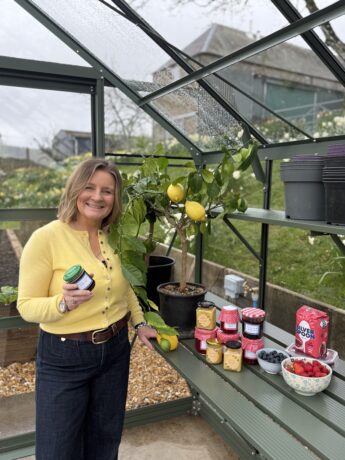
The Batch Lady’s simple guide to jam making
There’s something SO satisfying about making your own jam. The smell of bubbling fruit, the colour changing as it cooks, and that first spoonful on warm toast, yum yum yum.
I want jam making to be an easy skill that everyone can learn, it is so simple to do and requires minimal equipment and ingredients.
This guide keeps things straightforward. No sugar thermometers, no preserving expertise, and no complicated techniques! Let’s get jam batching!
What You Actually Need
One of the best things about jam making is how little equipment is involved.
Ingredients
- Fruit
- Sugar
- Lemon juice
Equipment
- A medium sized saucepan
- Wooden spoon or spatula
- Sterilised jars with lids
- A small plate placed in the freezer
That’s all!
The Basic Jam Ratio
A simple place to start is:
- 500g fruit
- 350-500g jam sugar
- Juice of 1 lemon
The amount of sugar depends on the fruit you’re using. Tart fruits often need more sugar, while naturally sweet fruits can use less.
If you’re new to jam making, these fruits are especially beginner-friendly:
- Strawberries
- Raspberries
- Blackberries
- frozen berry jam- using any frozen fruits!
- rhubarb
Before You Start
Put a Plate in the Freezer
This is for your jam test.
Place a small plate in the freezer before you begin cooking. Later, you’ll use it to check whether the jam has reached setting point. No thermometer needed!
Sterilise Your Jars
Wash jars in hot soapy water, rinse well, then place them in a low oven (around 160°C) for 10–15 minutes until dry and warm. You can also do this on a hot dishwasher setting without any detergent!
How to Make Jam
1. Prepare the Fruit
Wash the fruit thoroughly and remove any stalks, stones, or bruised pieces.
Larger fruits should be chopped into smaller chunks.
2. Heat the Fruit and Sugar Gently
Add the fruit, sugar, and lemon juice to your saucepan.
Warm everything slowly over a medium-low heat, stirring regularly until the sugar fully dissolves.
At this stage, avoid boiling. You’re simply dissolving the sugar so the finished jam stays smooth rather than grainy.
A good sign it’s ready, you can no longer feel sugar crystals at the bottom of the pan.
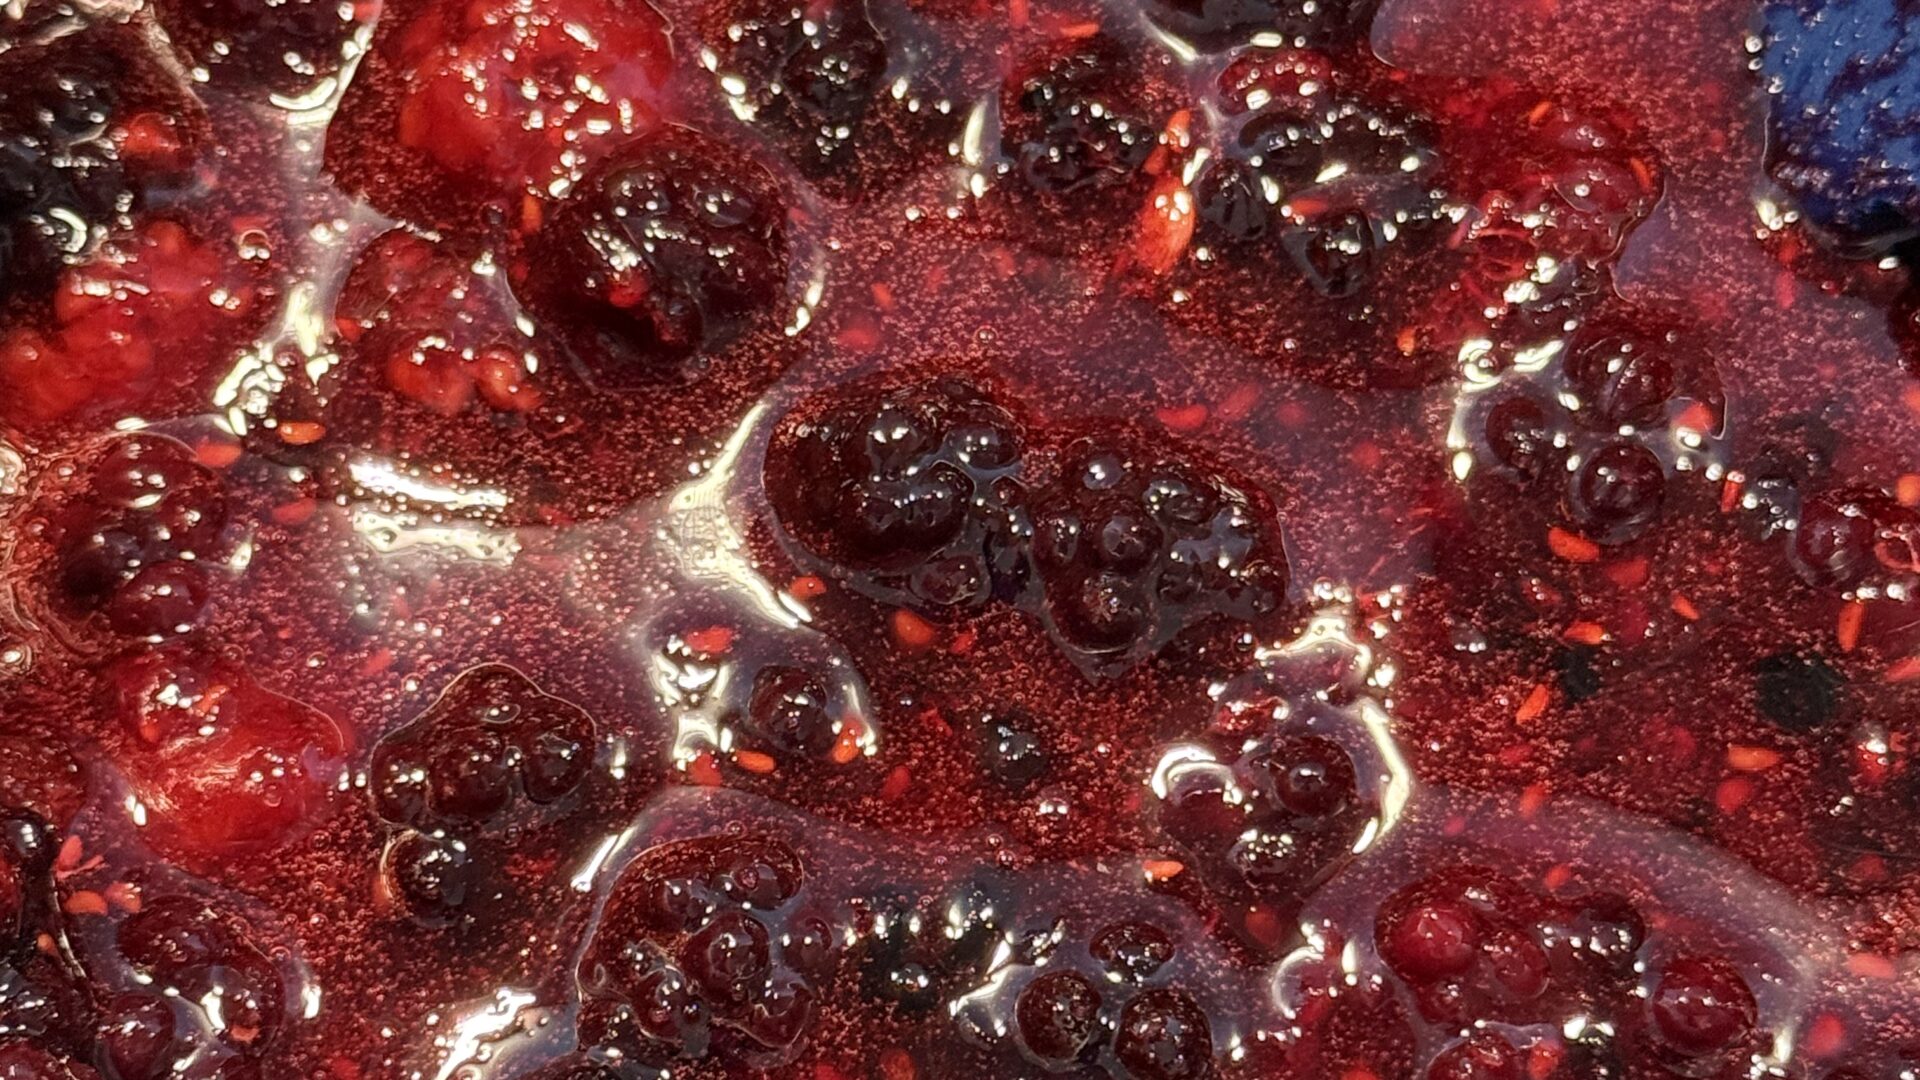
3. Bring It to a Rolling Boil
Once the sugar has dissolved, turn up the heat and bring the jam to a strong boil.
The mixture should bubble actively across the whole surface. Using a spoon, skim off any foamy bits that float to the top.
Most jams take somewhere between 10 and 15 minutes to cook, depending on the fruit and the quantity you’re making.
Stir continuously to stop it catching on the bottom of the pan.
The Frozen Plate Method
This is the easiest and most reliable way to tell if jam is ready.
How to Test Your Jam
- Take the cold plate from the freezer.
- Spoon a little jam onto the plate.
- Leave it for about 30 seconds.
- Run your finger through the middle
If the jam wrinkles:
It’s ready!
If it still runs like syrup:
Keep boiling for another couple of minutes, then test again. Happy jam making!